

A couple years ago, I was inspired to create a rocket ship using only a diaper box, some recycling materials, and $5.00-or-less monetary goal. I ended up spending $3.98 and that rocket ship lasted two years until we couldn’t justify moving it cross-country. But winters in Kansas are looonnng and I might have to resurrect this craft for some fun indoor play.


Materials Needed
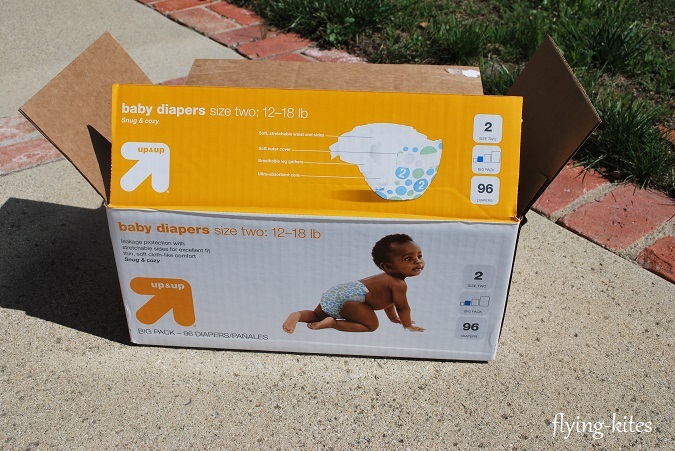
1. 1 diaper box large enough for your child to “fly” in
2. 3 empty toilet paper rolls, cut to 2.5 inches
3. Ribbon
4. Tissue paper in orange, yellow, and cream
5. Black construction paper – 2 sheets (or you can use black poster board which will hold up better over time)
6. Metallic spray paint – I used Rust-oleum Metallic Bright Coat
7. assorted plastic bottle caps from your recycling bin – mine came from Dr. Pepper bottles, water bottles, milk and juice jugs
8. hot glue
9. gray acrylic paint
10. clear packing tape
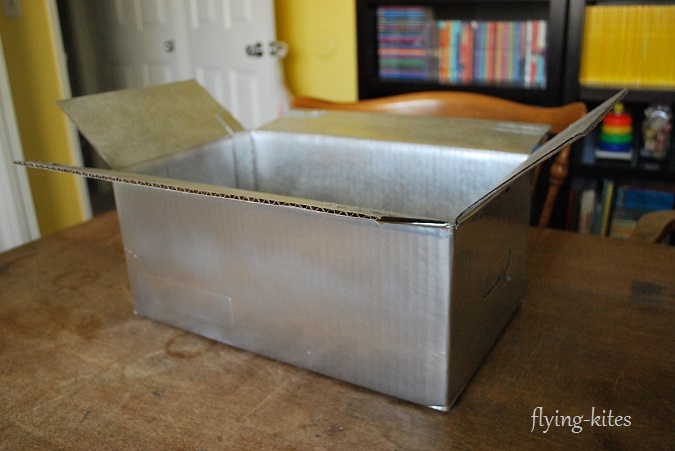
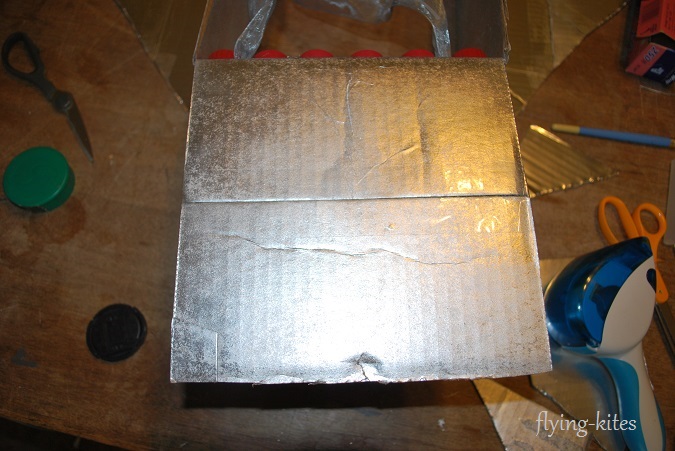
Step One: Spray Paint the Box
Spray paint the box, completely covering it.
Step Two: Take the box apart
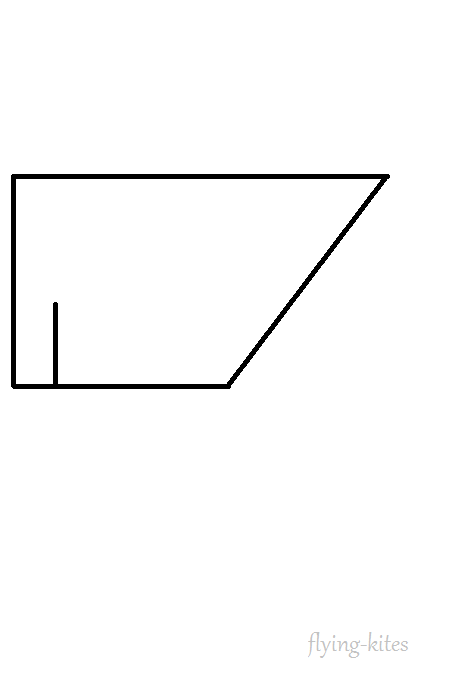
Take the box apart and cut off two long wings and two short wings from the same side. See picture

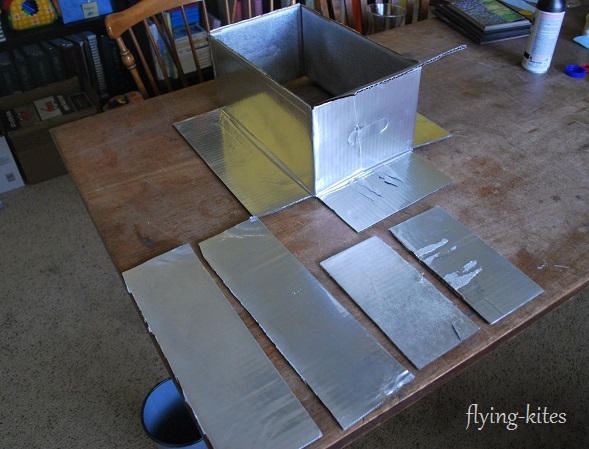
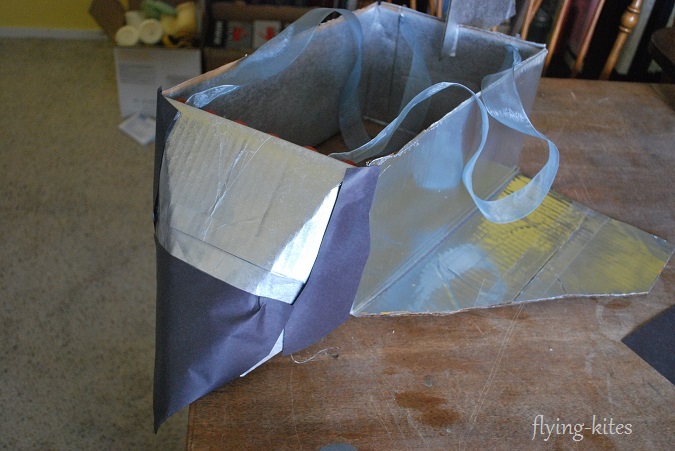
Step Three: Attach the Wings
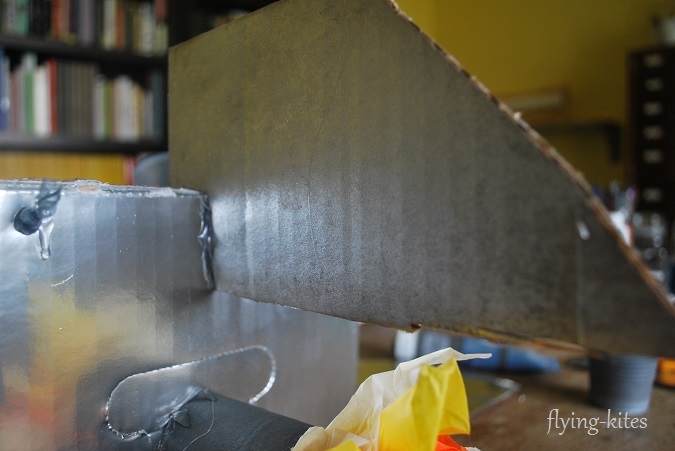
Make the wings by lining up the cut long piece with the attached long piece. Starting at the attached corner closest to the front, make a diagonal cut. Tape the two pieces together with the packing tape. Do the same with the other wing.

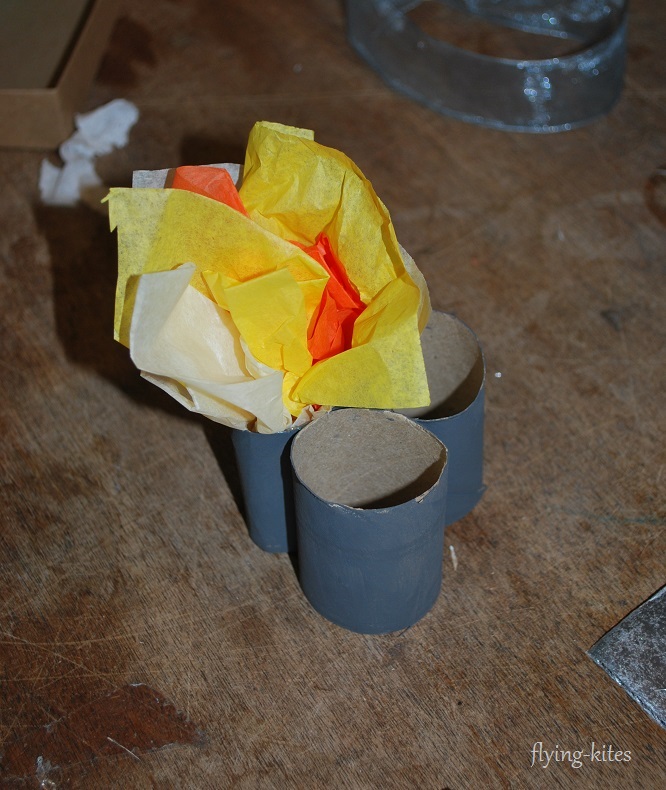
Step Four: Make the Flames
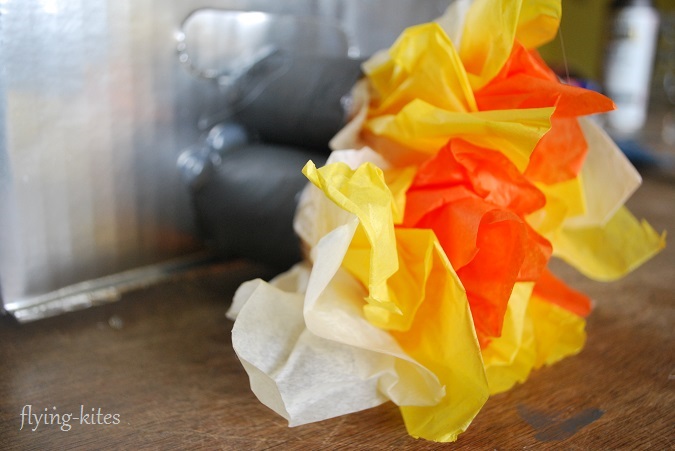
Paint the three toilet paper rolls with grey paint and secure together with hot glue.
Cut each color of tissue paper in three pieces, make three bouquets using each color, and glue into the toilet paper rolls. I put orange in the center, followed by yellow, then white on outside.
Step Five: Attach the flames to the Rocket
Secure the flames to the back center of the rocket with hot glue

Step Six: Secure the Rudder
Using one short cut wing, make the rudder by cutting from one corner to the middle of the opposite side. Cut a slit and attach to the back of the rocket with hot glue.
Step Seven: Attach the ribbons
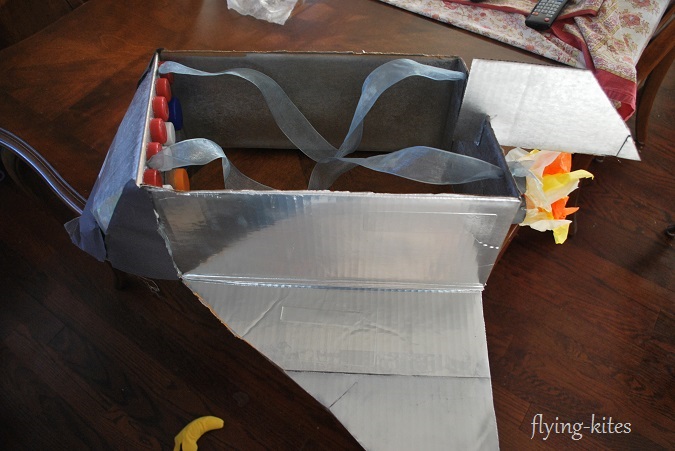
Attach the ribbons to make shoulder straps by poking two holes in the back and two holes in the front. Thread the ribbon through the back hole to the front and tie knots at both ends to secure.
Step Eight: Create the Dashboard
On the inside of the rocket, at the front, glue the buttons using the assorted bottle caps.

Step Nine: Make the Nose
Using the last small cut piece, attach it to the front of the rocket (that small flap) using packing tape.
Making the nose was the hardest part for me, but basically I folded the corners down into a “V”. I secured the corners to the bottom piece with hot glue and filled in the side spaces with cut construction paper. I took another piece of construction paper and cut it lengthwise, leaving about a third. I wrapped the paper cone-style around the front of the nose and secured with hot glue.
And that’s it! An afternoon (or an evening while watching TV) is all you really need.

