

My son loves to pretend to take pictures. He holds an imaginary camera up to his face and says, “Click!” I knew he would get a huge kick out of his very own camera, made from a juice box.
Note: this is a great craft for older children, with appropriate supervision if using a hot glue gun

Materials:
Juice Box – an empty one!
Wrapping paper or patterned paper (cardstock works, but isn’t the best as it is too thick)
Ribbon
1/2 of an empty toilet paper roll
Circle of black cardstock cut to fit the toilet paper roll (sightly larger than the roll)
Pipe cleaner – preferably a metallic
Bottle cap – either from a water bottle, soda bottle, or even the yogurt/fruit pouches
Washi tape – optional
Glue – I used a hot glue gun, but sturdy glue (like Elmer’s glue all) would probably work too
Before you begin, slit the top of the juice box open and rinse out the contents. Let it dry.

Step One:
Glue the box back together using hot glue -or- use a stapler

Step Two:
Wrap the juice box up like a present, sealing with a little bit of hot glue (please note, these pictures are taken with an obscenely amount of hot glue being used). Add decorative tape to the bottom of the “camera” for a finished look, if you prefer. 
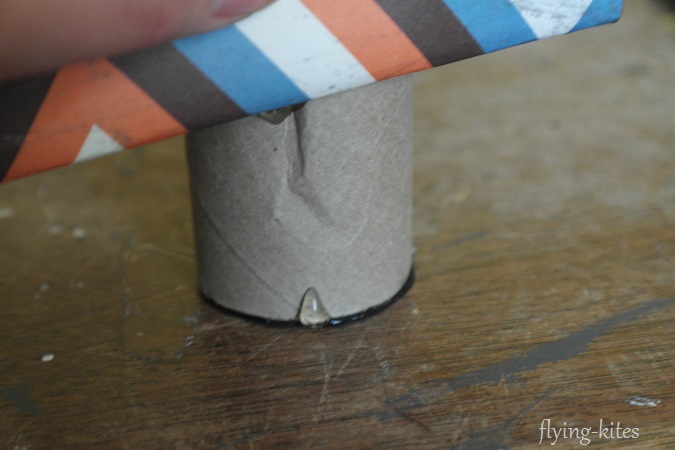
Step Three:
Put glue on the edge of the toilet paper roll and attach to the front middle of the camera

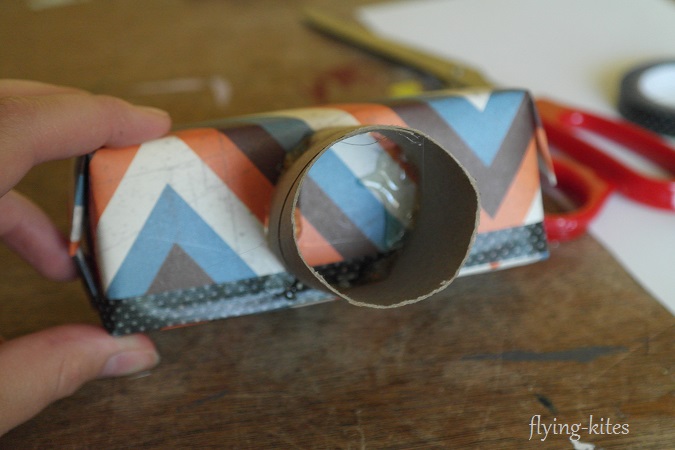
Step Four:
Put glue on the edge of the toilet paper roll (now a lens) and attach the black circle, now a lens. For an added effect, I also lightly stamped the circle with a gold stamp pad. Make sure the lens is dry and secure before moving on.
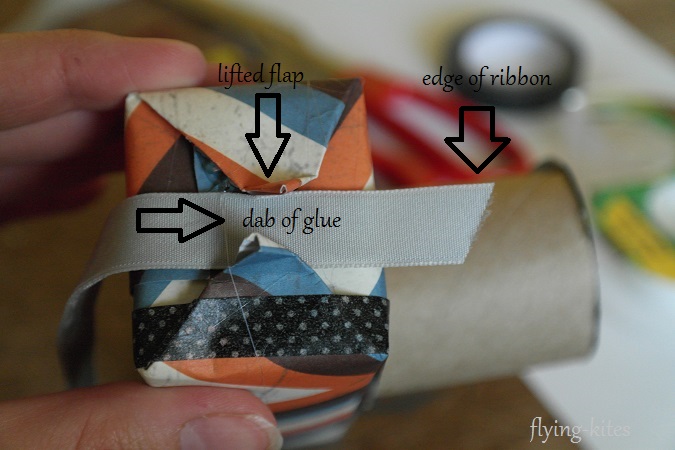
Step Five:
Attach the ribbon for the camera strap. Lift the flaps at either end of the camera and place a dab of hot glue before attaching the ribbon. Leave room for the ribbon to fold over!
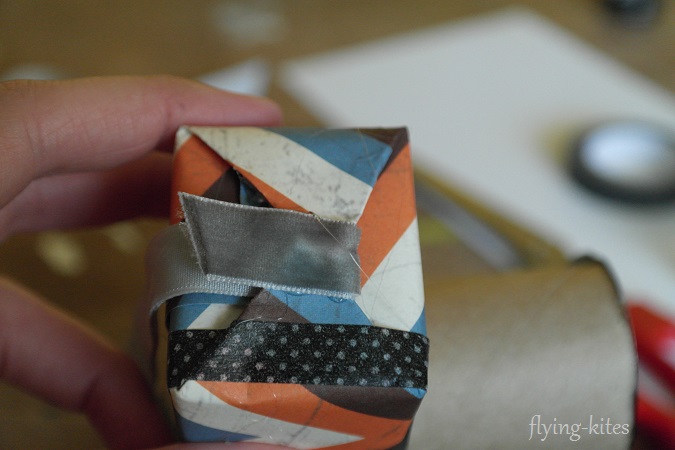
Step Six:
Add another dab of glue exactly where the last one went (except on top of the ribbon instead of under) and fold down the flaps. One more dab of glue and then fold over the ribbon. Repeat on the other side.
Step Seven:
Using the bottle cap, add some glue along the edge and attach to the top right of the camera for the button
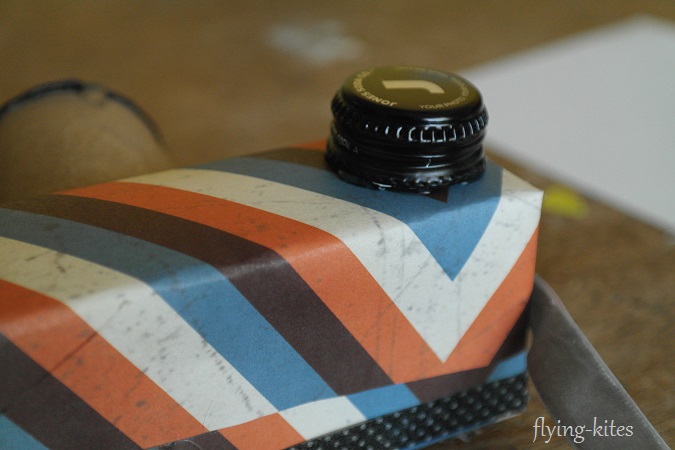
Step Eight:
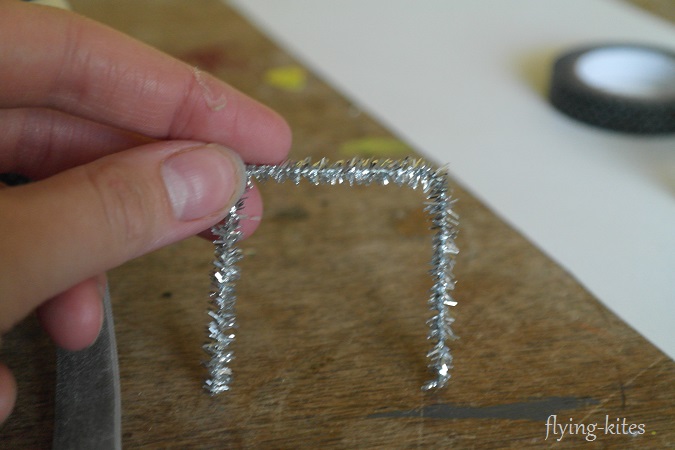
Cut about a fourth – a third of the pipe cleaner off and fold it into three parts, like the picture. This is the view finder
Step Nine:
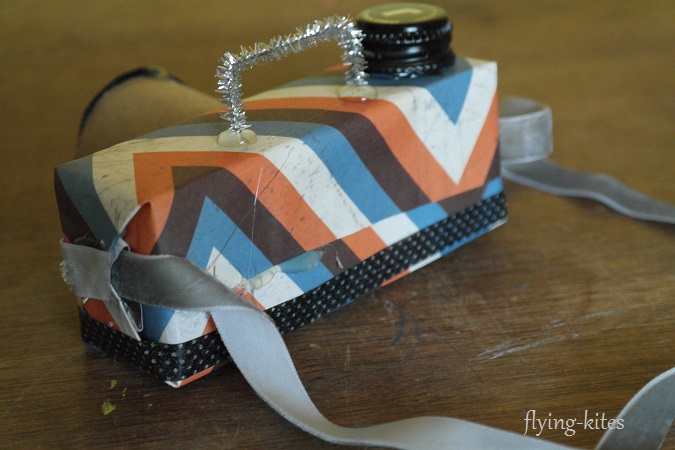
With the viewfinder, measure on the camera where the two ends will go, mark with a pin, and poke two holes with a small nail

Step Ten:
Attach hot glue to the ends about halfway up and insert into the holes, adding glue as necessary

Enjoy!

A Note about the paper:
The first time I made this camera, I used wrapping paper. I found I didn’t need to glue as much and the paper wrapped around the juice box great. The camera in the tutorial I used light cardstock, which was harder to work with and I overcompensated with the glue, causing leaks around the seams.
leaky camera
cleaner camera:

