Have you ever hosted a lemonade stand? I never did as a child, but always wanted to. We live in a family-friendly neighborhood with great visibility. I decided it would be a fun afternoon activity to do with my son while my daughter napped.

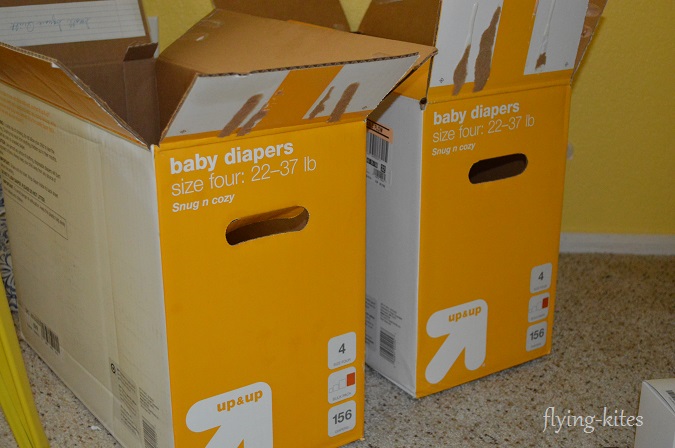
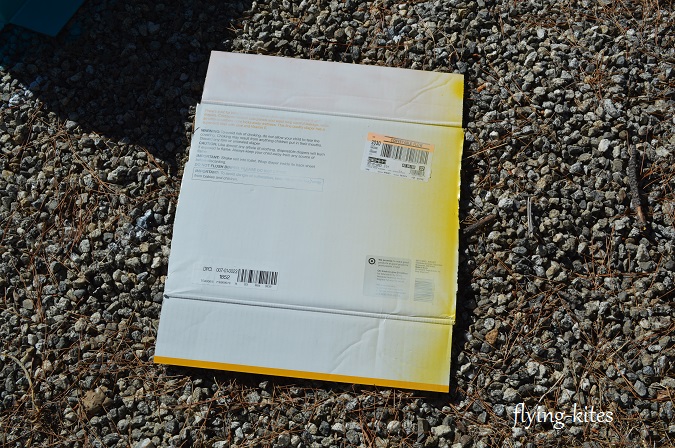
I like taking things we would normally trash and upcycling them for something fun. I particularly love, love, love the diaper boxes I get at Target. I am secretly going to be sad the day my daughter potty trains and I will no longer have a need to buy these great boxes!
I decided to try to make a lemonade stand from two diaper boxes. Not everyone has an extra table they can pull out to their curb. Why not use a couple boxes?
Materials:
2 Large Diaper Boxes
Spray Paint – I used Rust-o-leum in a yellow, teal, and white, all in a glossy finish
Dowel Rods – four or two cut in half
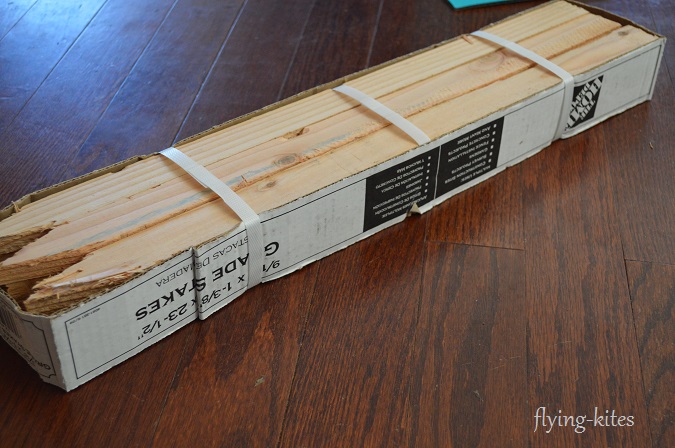
Garden Stakes – five
Twine
Sharpie
Materials for a “lemonade sign” (I chose to use some cardstock and chipboard letters I had on hand, but just writing the words with a sharpie or marker works great too)
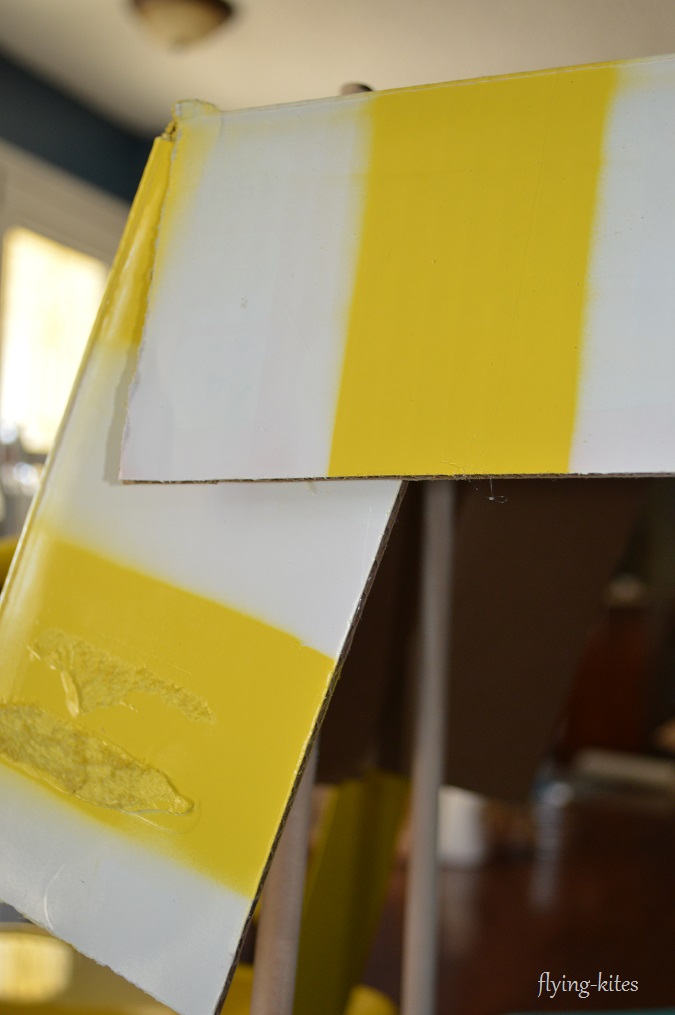
Step One: Cut one Box
Take one diaper box and cut one corner, opening the box so it lies flat
Cut off completely one long side of the flat box (see picture below)
You should have one complete box, a flat side, and a flat side with two flaps

Step Two: Paint
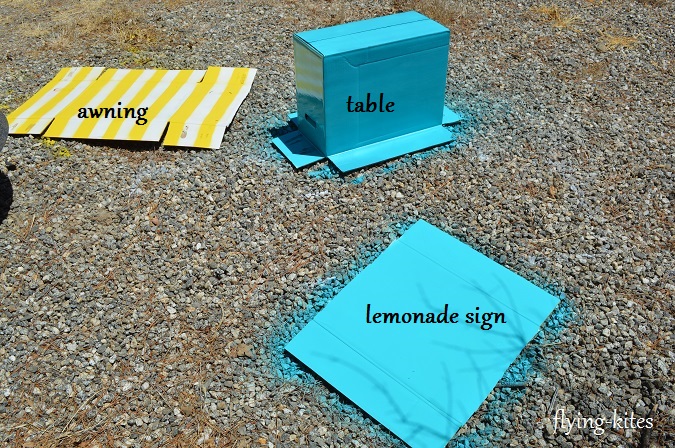
Paint the large box blue (or whatever color for the table)

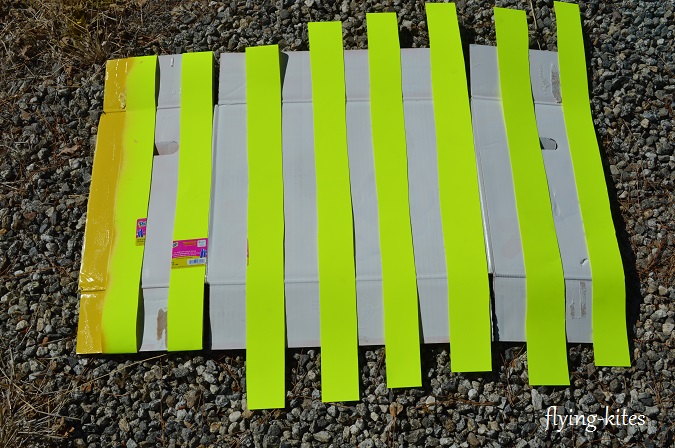
Paint the box with flaps white
When dry, tape it off (if you don’t have paint, then improvise with strips of poster board or paper, like I had to do)
Then paint with the yellow paint (creating a awning stripes look)
Paint the cut-off side blue (this will be for sign advertising your lemonade stand)
Step Three: Insert dowel rods
Taking the table, cut four small holes in each corner. Big enough to wedge the dowel rod in each hole, but not too big that the rod slips completely into the hole.

Hot glue around the dowel rod for extra security
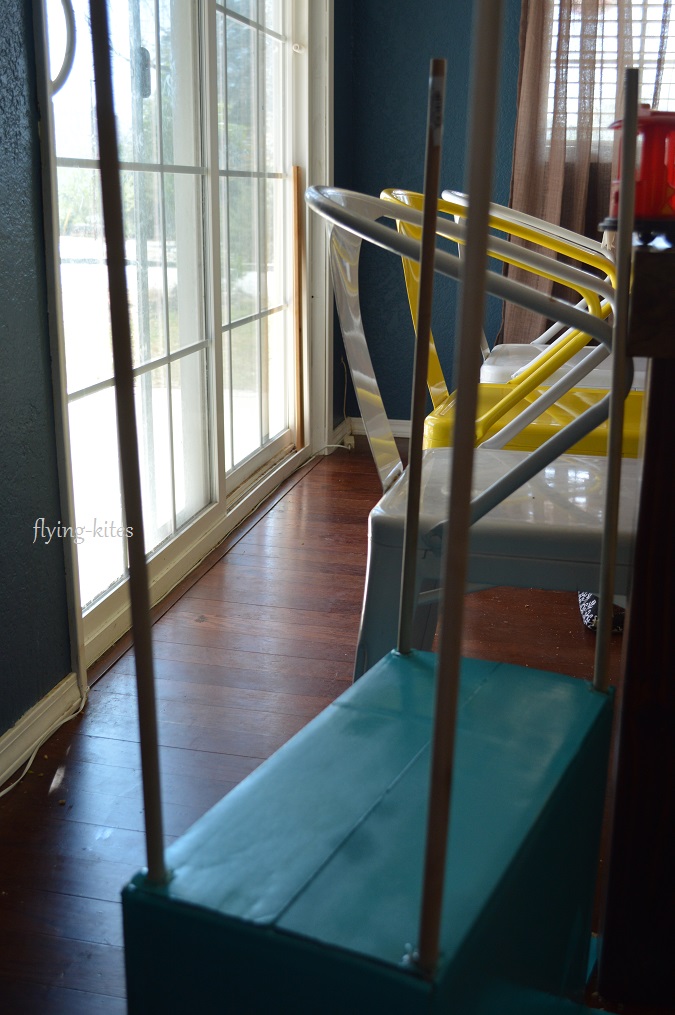
Step Four: Secure the Awning to Rods
Much like step three, make four small holes in the corners of the awning. Be sure to make the holes in the main portion of the awning, not the flaps. Secure with hot glue
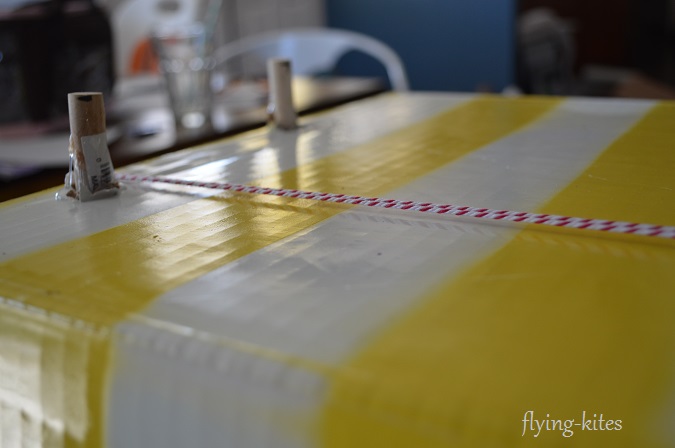
Step Five: Tie the Awning
Part of what makes the lemonade stand so cute is utilizing the existing flaps that once made up a diaper box and making the awning fold over for shade. To better do this, take some twine, tie it to the underside of the dowel rods, and pull through the pre-existing holes (once handles) and over the top of the awning. Do this a couple times until the flaps are as tight as you like.

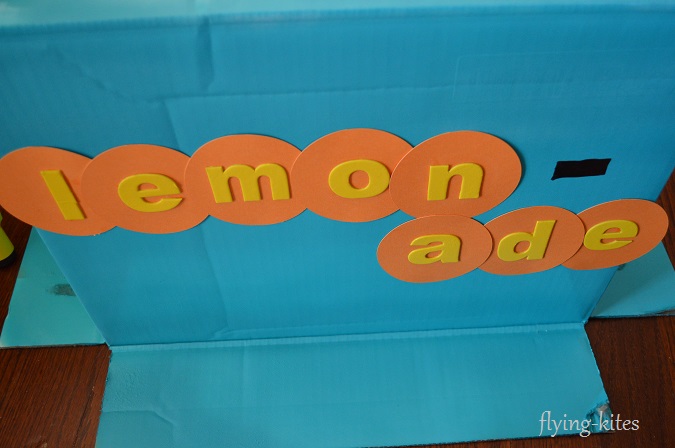
Step Six: Add a Sign to the Stand
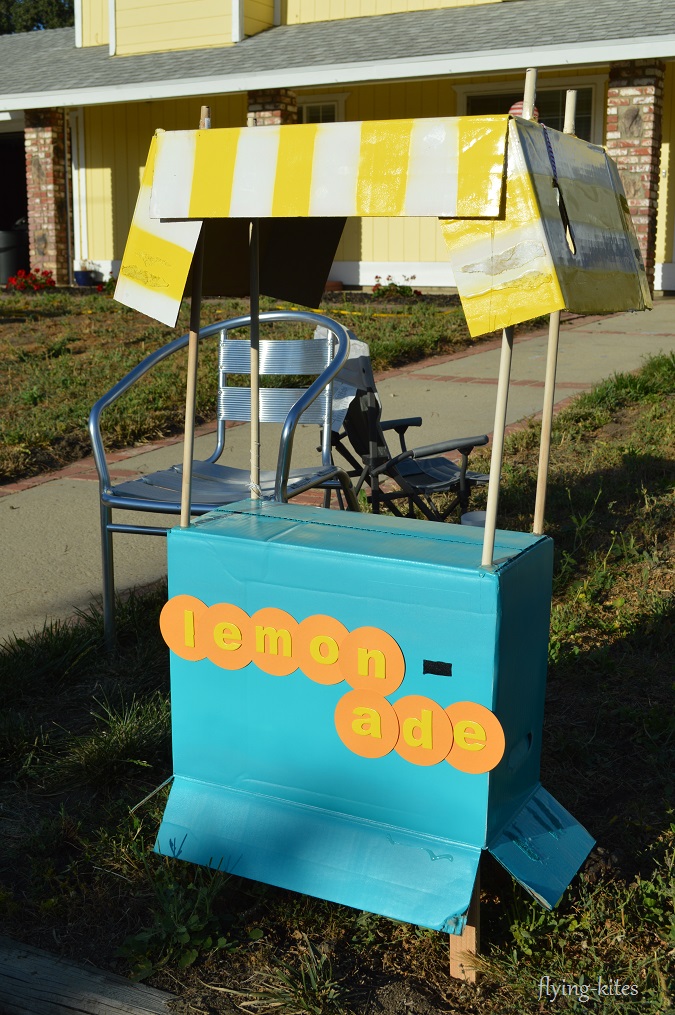
I used die-cut circles in orange and spray painted chipboard letters in yellow to finish off my lemonade stand. But simply writing “lemonade stand” with sharpie works great too. Or, if your kids are older and can write, let them do it and do some of their own personalizing.
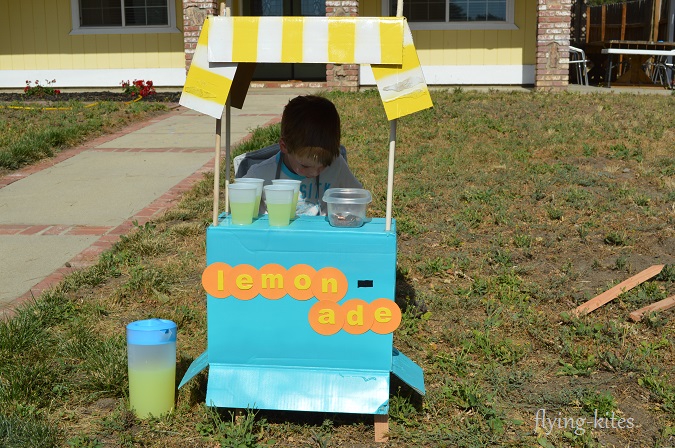
Step Seven: Put the Stand Outside
Taking four garden or yard stakes, place them in the yard in a rectangle about the distance of the lemonade stand. Make sure they are securely in the ground and then set the lemonade stand on top. This elevates the lemonade stand a little, but also keeps it pretty sturdy.

Step Eight: Advertise
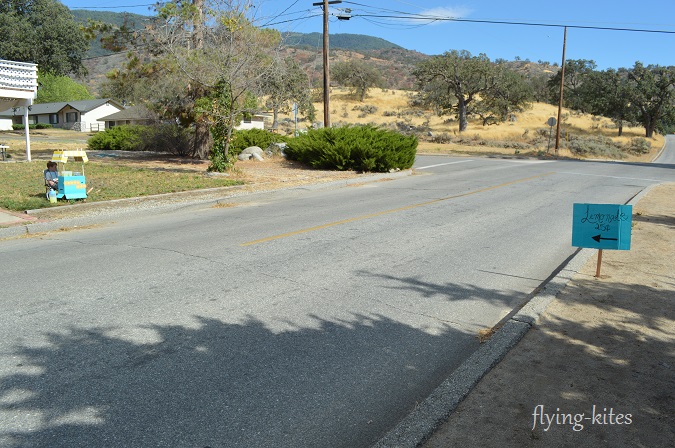
Remember that side of the box you spray painted? Well, now it’s time to put it to good use. Using a sharpie pen, write the information needed to get people to your lemonade stand – much like a garage sale sign.

We did, “Lemonade 25 cents” with an arrow pointed to our lemonade stand, and positioned it across the street. Nail it to a garden stake and insert it into the ground (with permission from your neighbor if you’re sticking it in your neighbor’s yard).
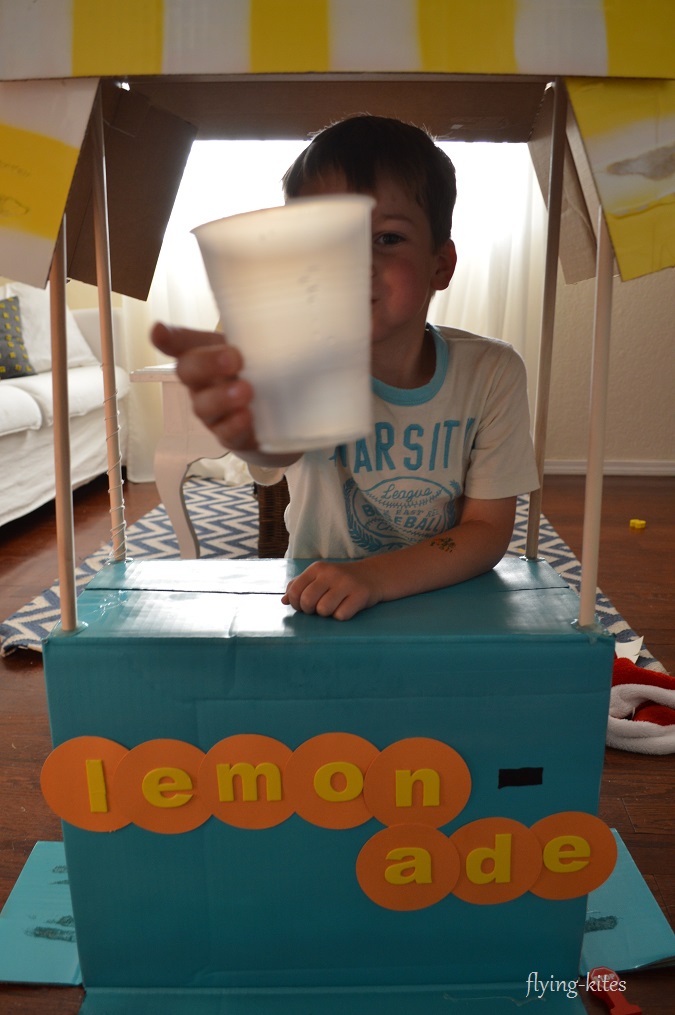
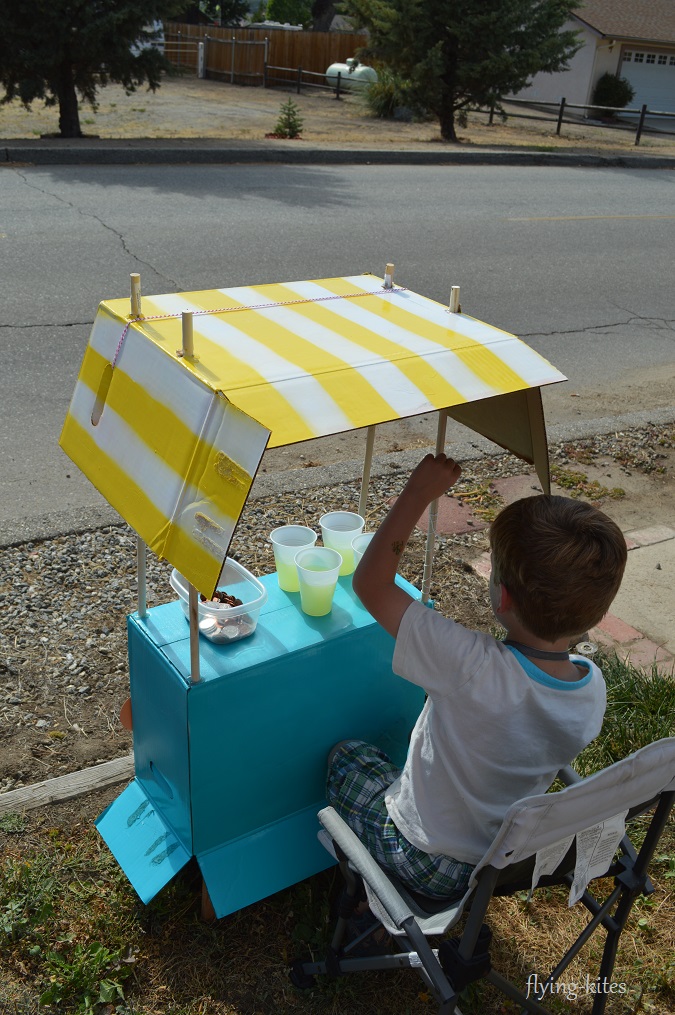
Step Nine: Set up Shop!
You’ll need a pitcher of lemonade, cups, chairs, and change.


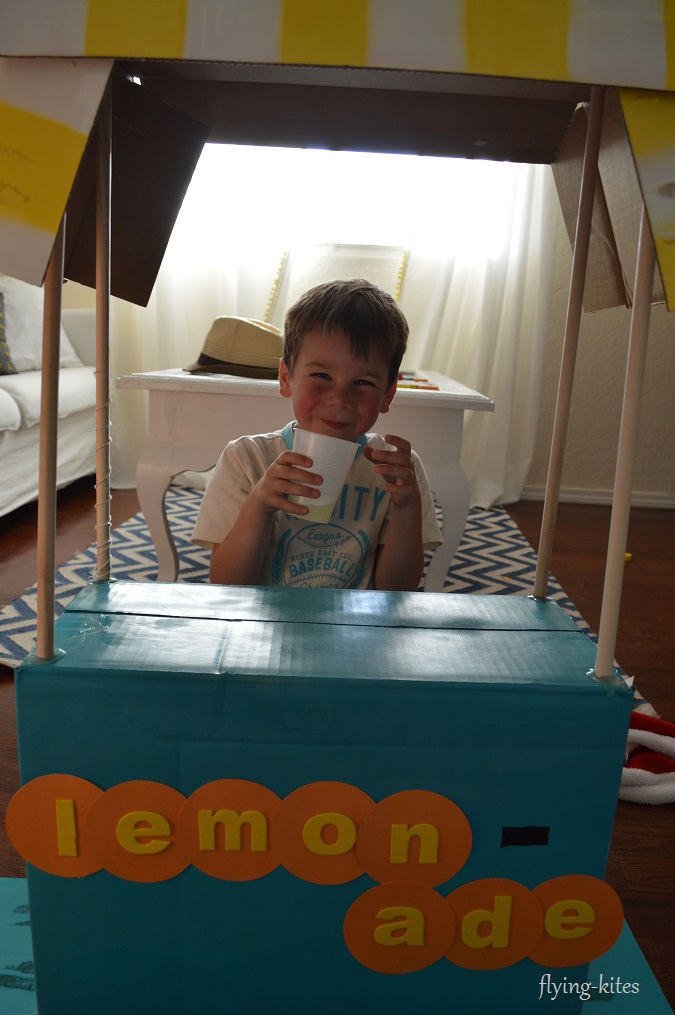
We had the best time chatting with our neighbors and I loved watching my four-year-old get into giving out the lemonade and taking the change. He has little concept of math, but it was a great learning experience for him.

Plus, when we finally had enough, the lemonade stand was great for indoor pretend play too!